

This is a taggie turtle I maid for my sister in law's new baby. I was inspired by this turtle, though it turned out very different from it. It crinkles, since that seems to be the "in" thing among babies these days. His top is fleece and the underside is cotton (of the pillow sham variety). The "tags" are pieces of ribbon. The crinkle is made of a piece of a Tostitos bag. I felt it was appropriate since I made him on Cinco De Mayo. I had to wait to give the gifts to my sister in law before I could share them. This is one of 4 things I made for her baby shower.
So, let me show you how I did it!

What you'll need:
Scrap of fleece
Scrap of Cotton
12" of Ribbon
Empty chip bag or something equally as "crinkly"

Cut the ribbon into 4 4" long pieces. Cut an oval out of the cotton, fleece, and bag for the body. I drew my oval and cut it out on paper first and used it as a template. Cut 2 head pieces out of fleece.

Put the 2 fleece head pieces together and sew around the edges, leaving the bottom straight edge open. Trim and turn right side out.

Lay the fleece oval down first. lay the head on the fleece where you want it facing inward. Then, fold the ribbon pieces in half and place them where you want them matching the raw edges of the ribbon with the edge of the oval. Put the cotton on top and then the plastic bag on the very top. Pin all the layers together. Make sure you put pins where the ribbon and head pieces are so that they don't move.

Should look like this. All of the pieces of ribbon and the head should be sandwiched in between the fleece and cotton layers facing inward. Next you're going to want to sew around the circle through all the layers. Make sure to leave a hole open along the bottom for turning. I marked my starting and stopping point with the Green ball tipped pins. If I don't mark them I tend to sew the hole way and then have to rip some of it out.

Next, turn the turtle right side out. I top stitched around the edge to close up the hole and to make it look more shell like. Now, if you wanted to you could stop here. He's a functioning turtle toy. The next step just makes him cuter, in my opinion.
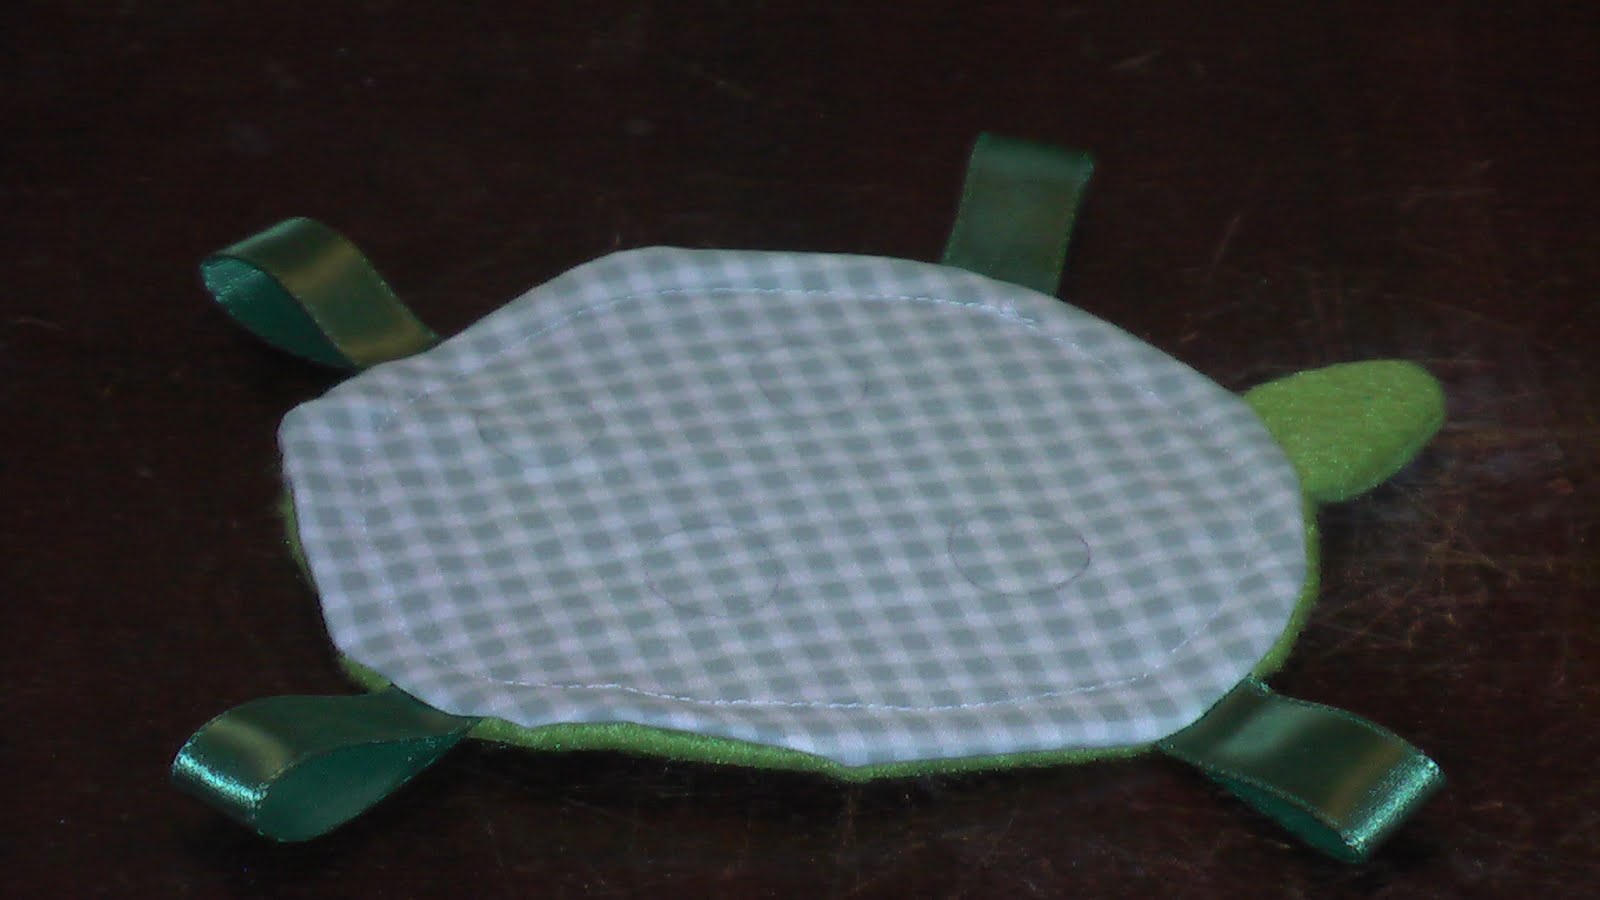
Next, flip him over to his tummy. Draw 4 circles scattered along his belly using a pencil. Then, set the stitch on your machine to the smallest stitch possible. The smaller the stitch, the more it puckers as you sew.

Sew the 4 circles following your pencil drawings. This will give him four bumps along the top of his shell. Trim your threads and your done! Now, if you did use a pencil to draw on him I suggest you wash him before handing him over to your baby. I don't think it would harm them, but I also don't want any sick babies!

He really liked basking in the sun next to our pond with his own kind. He felt very much at home there. Too bad he got shipped off to New Jersey.
No comments:
Post a Comment