


The one side of the briefcase with and without the cars


The other side of the briefcase with and without the tracks

Inside of the briefcase

This is a picture of the camel we rode at the zoo. Her name is Angel.

This is our house. The street sign has our street name on it and our house number is on the house. I blurred this out for privacy reasons, but you can still see where they were.

This is Bun Bun and Mouse's houses. Bun Bun is Peanut's favorite rabbit and mouse is her other rabbit. (and Yes, she is fully aware mouse is a bunny. She'll tell you if you ask) Since Bun Bun is pink and mouse is brown, I used that to distinguish the two houses.

Kroger and Target. 2 of our weekly stops

Costco is also an almost weekly stop.

A parking lot. I used zig zag stitches to make the lines.

This is the lake we used to live near and we go to in the summer to swim.
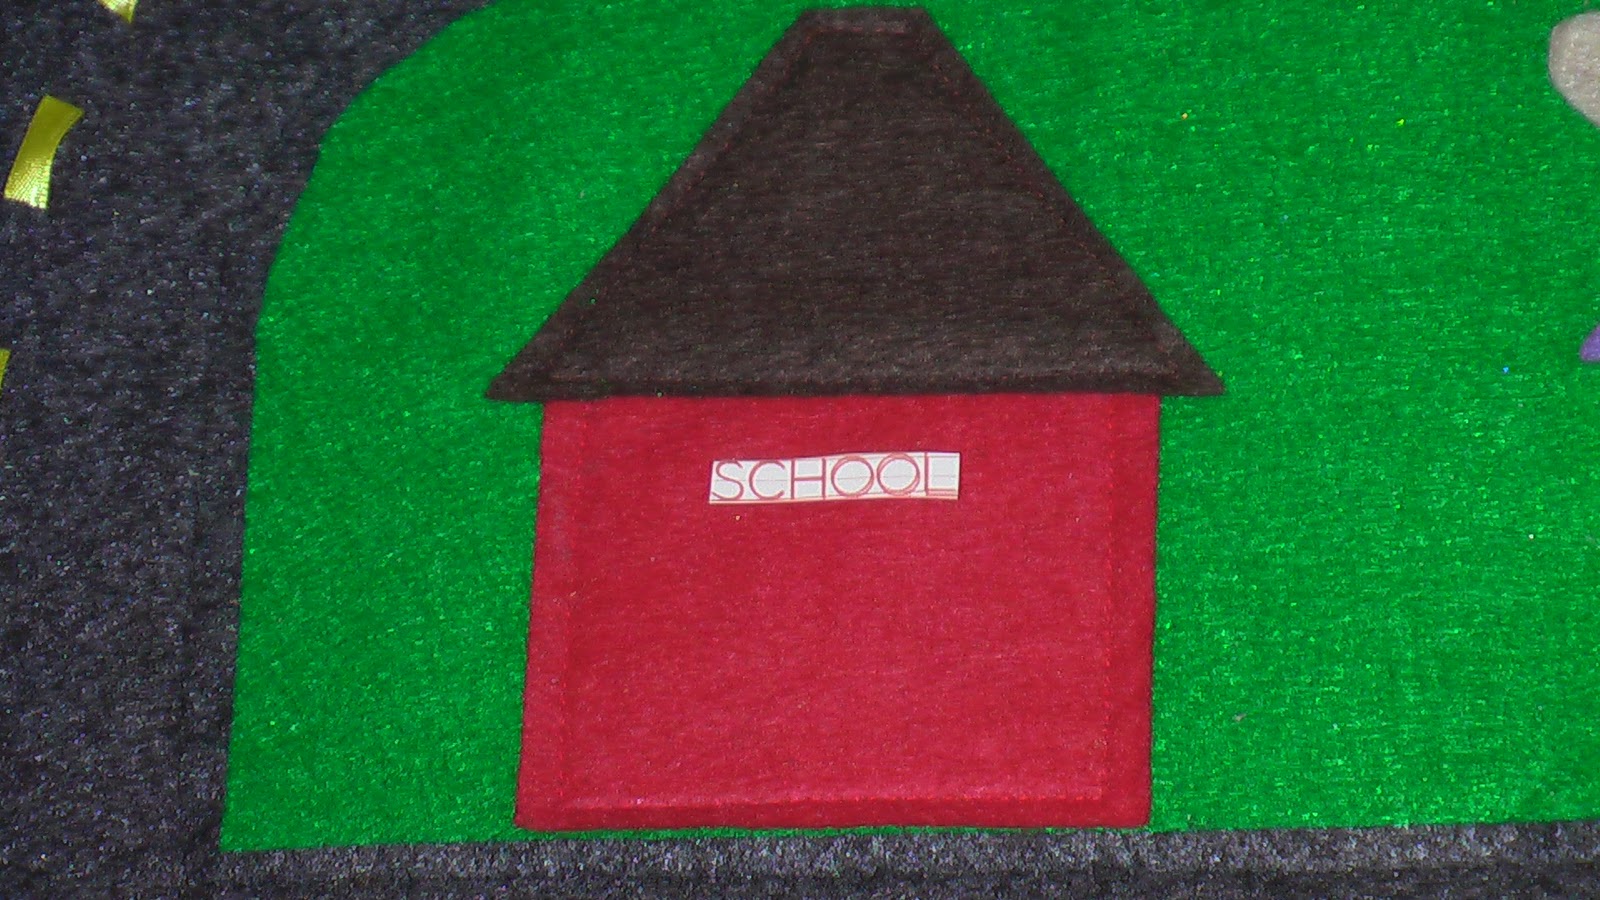
And finally, school. Noe's new favorite place to go!
The words and logos are all done using fusible printer paper. My mom got me a piece from a yard sale sometime ago. You just put it through the printer and then iron it onto your fabric. I'm a little sad to not have more of it. I looked for more but was having trouble locating some. On the other hand, I had that for about a year before I came up with a use for it. Hopefully I wont have another need for it!
Few notes in case you want to make one too.
- Almost everything is felt. Yes, I am a felt junky. I'm proud of it too!
- The lines on the road is a piece of ribbon threaded in and out of the felt. I just cut little slits and then sewn on the felt on either side of the yellow lines to keep it steady.
- The hard middle is actually the bottom of a drawer. My friend had a dresser fall apart right when I was looking for something to put in the middle. She offered me the bottom of a drawer made out of press board. I cut it in half and then turned them so it was more wide and less long.
- The loops on the outside are elastic.
I'm sorry I can't do a tutorial on this. It was really a figure it out as you go kind of project. If you want to make your own and have questions feel free to ask! Also, if you make your own please let me know! I'd love to post pics on here!
 "
" 
This is such a great idea! I bet my son would love this! Great idea!
ReplyDeleteThis looks awesome and like so much fun! Thanks for linking to Things I've Done Thursday.
ReplyDeleteMelanie
bearrabbitbear.blogspot.com