Thursday, October 27, 2011

Halloween Plaques

I want to start this post by mentioning Pick Your Plum.  It's a website that features fantastic one day deals on crafty items.  They feature one item per day with a steep discount.  They have limited stock each day and often sell out before the day is done.  They announce it at 9 am EST.  I'm fortunate to be up by that time every day.   It's a very dangerous website.  When you can get a crafting supply at a killer price it's very tempting, even if you have no current plans for it.  I'm not going to get into how much stuff I've gotten, but it's been quite a bit.

So, back to the craft at hand.  A few weeks ago Pick Your Plum featured a freebie!  They had a choice between a pair of decals.  You could get either "Eek!" and a spider or "Boo!" and a witches hat.  I quickly opted for the witches hat.  After a lot of tries, I finally got through and made my order!  I had no idea what I was going to do with them, but they were free!

So, a few days after I got my decals I started brainstorming.  I finally decided to make some Halloween signs for outside.  I went to Joanns my local fabric store (mine is one of the big ones) and got 2 wooden plaques.  This is what I did: (is the suspense killing you yet? Don't scroll down!!)

1) painted the edges of the plaques black. It took 2 coats
2) picked out my scrap booking paper pieces and cut them to size
3) modge podged them onto the top
4) glued on the wire to the back with hot glue
5) put the decal on
6) sprayed it to death with sealer

One of the perks to buying a big pack of fall scrap booking paper is that you end up with years worth of fall scrap booking paper.  This is going on year 4 and I still haven't used all of it!

Ok, enough suspense (It is almost Halloween, afterall).  Here are the pics of my Halloween Plaques!


Here they are next to the front door!  I'd like to add a wreath to the front of the door, but I haven't gotten there yet.  Hopefully in the next couple days I'll get that done.


Here's the Boo! sign


And the witches hat!

So, this is one of those times where hindsight is 20/20.  The decals where backed with a larger white piece of paper.  When picking out the background papers and placement of them I didn't think about the black on black part.  I think the Boo sign looks worse than the witches hat.  I think the witches hat turned out better.  Also, when cutting the paper I need to make sure they don't overlap.  The overlap is  especially apparent behind the witches hat.   Either way, I learned something new and I think overall they're pretty cool.  


Wednesday, October 26, 2011

Car Mat Briefcase

I finally finished it!  It's very typical for me to set a project aside for days, weeks, months, and sometimes indefinitely when I hit a block in the process.  This was one of those times where I needed to step back and contemplate for a while.  My main goal with this was to provide a "town" for Peanut to drive her cars on and also provide a way of storing the cars and tracks.  We don't have a good place for them now and it's been driving me crazy. I find cars and tracks all over the place.  This way they all have their place!  I'm really happy with how it turned out.  I think Peanut is going to love it and I can't wait to see her face on Christmas morning!


The one side of the briefcase with and without the cars


The other side of the briefcase with and without the tracks


Inside of the briefcase


This is a picture of the camel we rode at the zoo.  Her name is Angel.


This is our house.  The street sign has our street name on it and our house number is on the house.  I blurred this out for privacy reasons, but you can still see where they were.


This is Bun Bun and Mouse's houses.  Bun Bun is Peanut's favorite rabbit and mouse is her other rabbit.  (and Yes, she is fully aware mouse is a bunny. She'll tell you if you ask)  Since Bun Bun is pink and mouse is brown, I used that to distinguish the two houses.


Kroger and Target.  2 of our weekly stops


Costco is also an almost weekly stop.


A parking lot.  I used zig zag stitches to make the lines.


This is the lake we used to live near and we go to in the summer to swim.


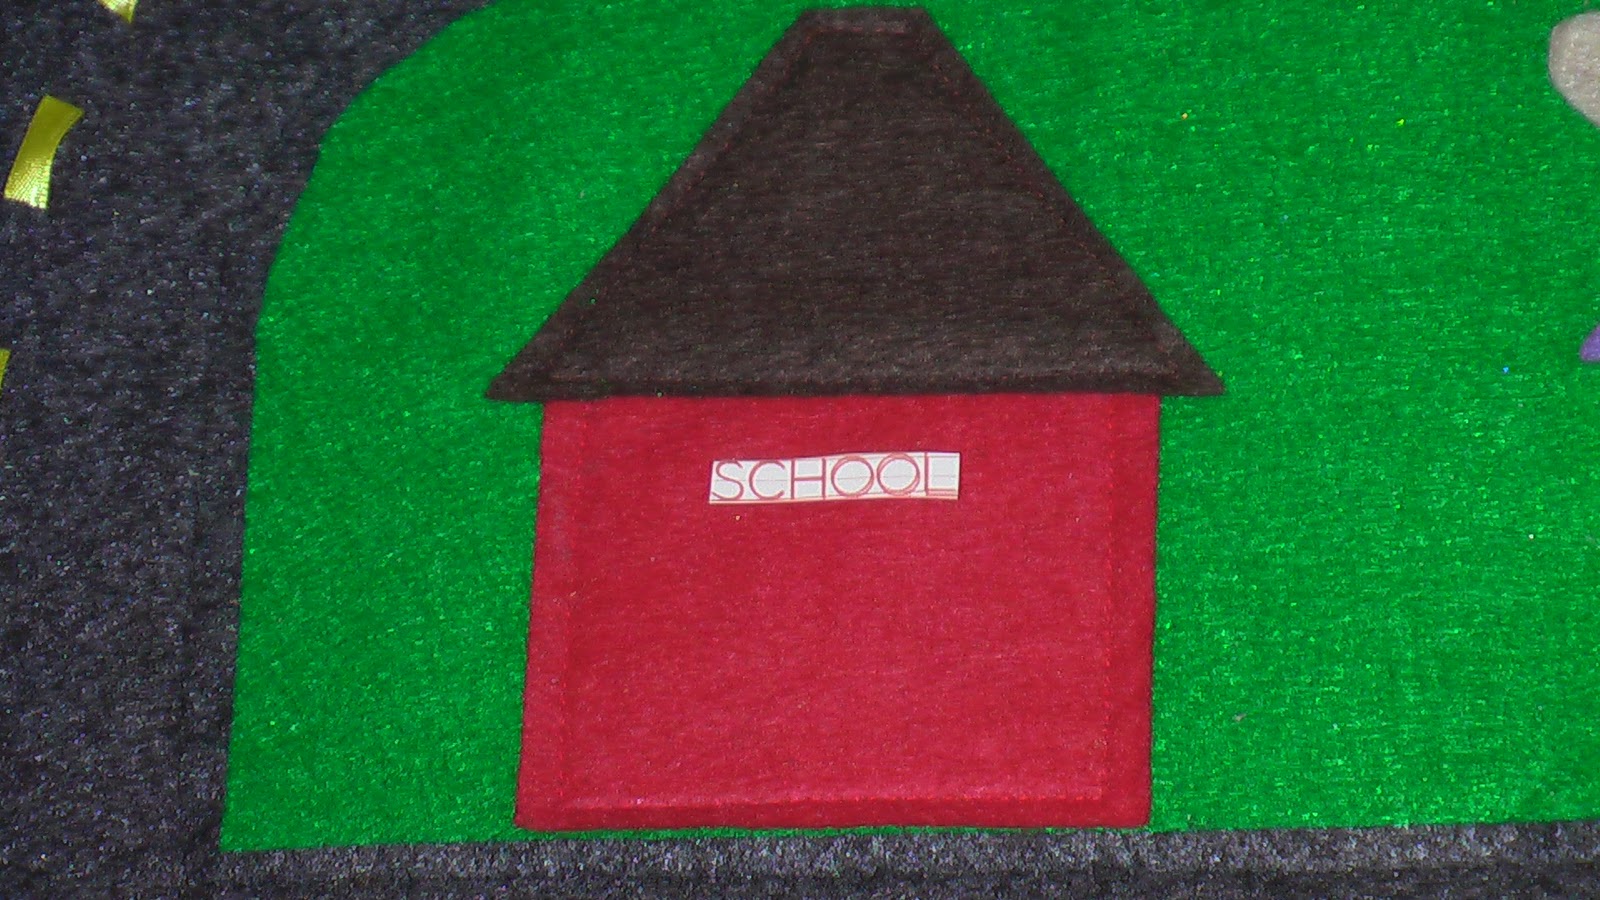
And finally, school.  Noe's new favorite place to go!

The words and logos are all done using fusible printer paper.  My mom got me a piece from a yard sale sometime ago.  You just put it through the printer and then iron it onto your fabric.  I'm a little sad to not have more of it.  I looked for more but was having trouble locating some.  On the other hand, I had that for about a year before I came up with a use for it.  Hopefully I wont have another need for it!  

Few notes in case you want to make one too.  
  • Almost everything is felt.  Yes, I am a felt junky.  I'm proud of it too!  
  • The lines on the road is a piece of ribbon threaded in and out of the felt.  I just cut little slits and then sewn on the felt on either side of the yellow lines to keep it steady. 
  •  The hard middle is actually the bottom of a drawer.  My friend had a dresser fall apart right when I was looking for something to put in the middle.  She offered me the bottom of a drawer made out of press board.  I cut it in half and then turned them so it was more wide and less long.  
  • The loops on the outside are elastic.
I'm sorry I can't do a tutorial on this.  It was really a figure it out as you go kind of project. If you want to make your own and have questions feel free to ask!  Also, if you make your own please let me know!  I'd love to post pics on here!


Photobucket"

Sunday, October 23, 2011

Sick and tired

Hey everyone,

Sorry to report, but I am quite literally sick and tired.  Munchkin is getting molars in and so has not slept (originally typed as sleeped) through the night in over a week.  And to add to my fun, I've got some nasty coughing cold thing.  My voice is now a squeak.  

In other news, I've been busy making stuff for Halloween.  I've got both costumes done and I've been making a bunch of decorations.  Hopefully one of these days I'll get to taking pictures and finally get them posted.  Also, I've gotten requests to show a tutorial of the fur vest, and you all know what that means!  I get to make a second one!  I really want to make a bright green one for munchkin, but i'll probably end up making her a gray one like Peanuts since I already have all of those materials.

Ok, now that I've found the missing keys (in the kids' play car, of course!) I'm off to bed.  I can't wait until Papa B gets home from hockey and I can share the good news.  He's been freaking out over the missing keys for the past week since he was the last one to have them.

Sunday, October 16, 2011

Fur Vest


One day last week I went to the consignment shops in search of a variety of things including shirts and shoes for the girls, and some dishes.  One thing I wasn't looking for was a piece of fur.  However, I found this great piece of gray fur for $1.50.  I was too good of a deal to pass up and all I could picture was a little gray vest for Peanut.

A couple days later I was trying to describe what it looked like to my friend and started a google search for a gray fur vest for children.  This is what I found.  And only $62!


So, the next time I went to Joann's I found some lining to use as a lining (I know I totally just blew your mind there) and also to make the ribbon out of.  The polka dots really spoke to me. They just seemed like they popped.  I spent a lot of time debating whether to make the ribbon out of the polka dots or the plain gray.

Of course looking at the picture now I notice that my vest is certainly shorter on the body than the other one.  Oh well.  I'm just happy I was able to draft a pattern and make the vest to fit Peanut really well.  I've just got to keep practicing and I'll get better at it.  Also, this vest cost me about $5 instead of $62.  That always makes me feel good.

Sunday, October 9, 2011

Mouse Tail


Peanut was so excited about her mouse tail she had to put it on right away.  This is during breakfast.  She also makes sure to tuck her tail into the crack in the seat.  I can't wait to finish the rest of the costumes!

Sunday, October 2, 2011

Jack O' Lantern Shirts


Here are the girls at a local orchard.  I made them matching Jack O' Lantern shirts using the same method as the Flower Cut Out Shirt.  I've gotten some great comments on them and the girls really like them.  I'll try to take pictures of just the shirts soon.  I love fall!

Thursday, September 29, 2011

Shopping Bag Holder Tutorial


You'll need:

1/2 yard of fabric, 24" of elastic and 14" of ribbon


1) Cut your fabric to 18"x20".  The 20" will be the length of the holder and the 18" will be the circumference.


Fold your fabric in half lengthwise and sew a 1/2 in seam along the open long edge to make a long tube.


Next, Fold over your top and bottom edges twice about 1/4" to make the casing for the elastic.  Sew around them close to the inside edge of the fold leaving an opening about 1 1/2 inches wide to slip your elastic through.


Here you can see the top and the bottom hems sewn with the openings going over the seam.


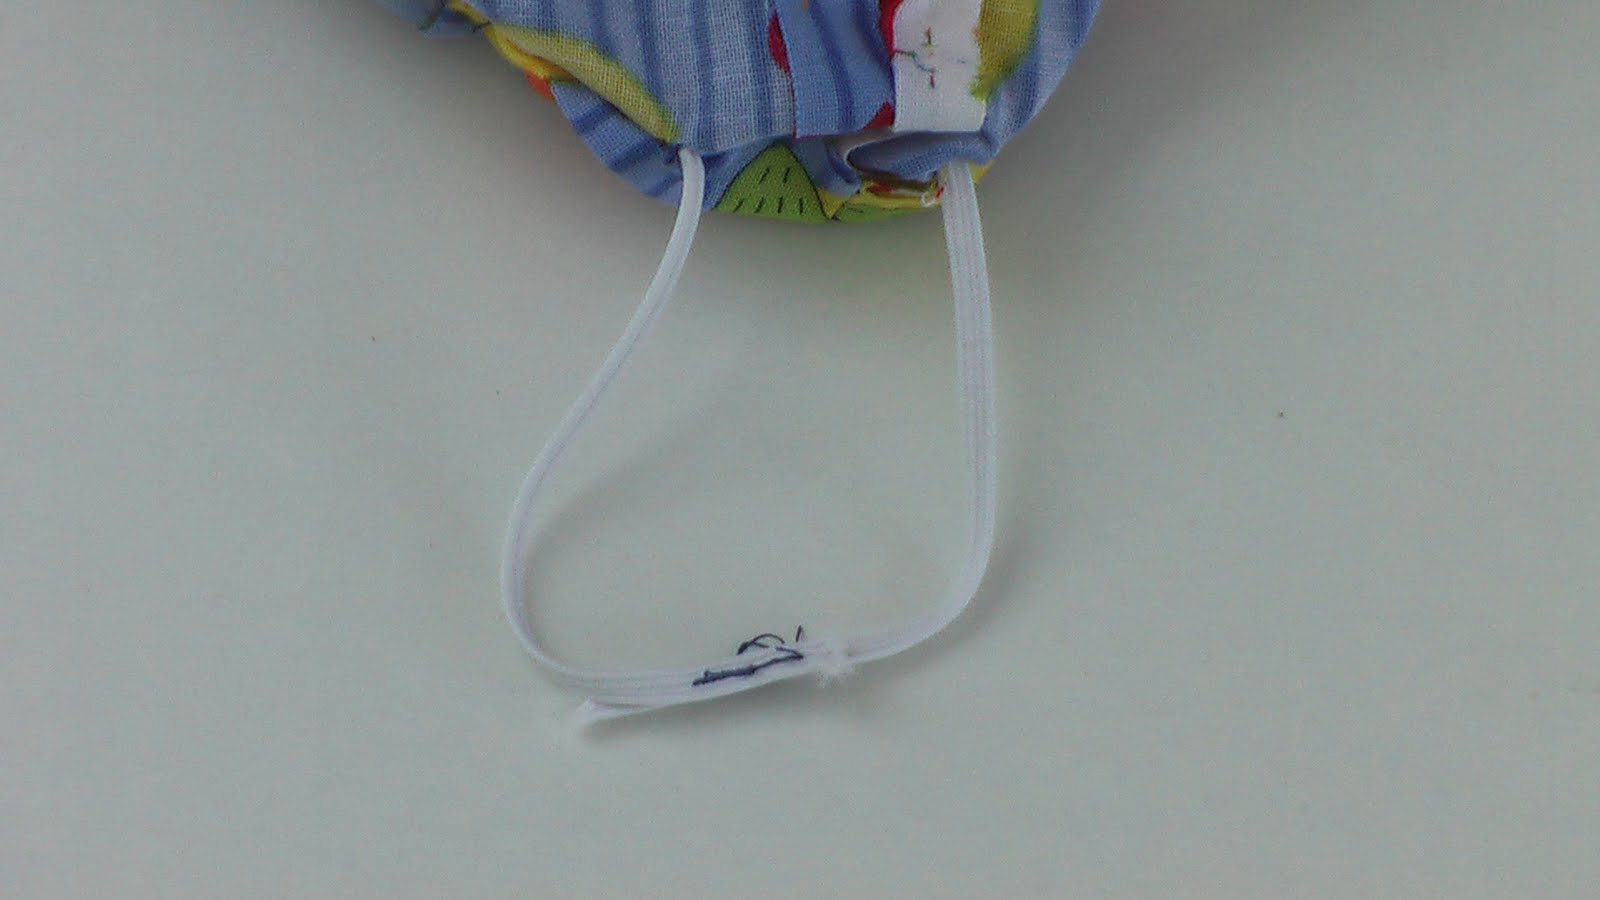
Cut your elastic into 2 pieces, one that is 10" long and the other to 14" long.


Next,  put a safety pin through one end of the 10" elastic piece.  This will be bottom of the bag.  Thread it through one of the casings making sure to hold on to the free end.


Machine stitch them overlapping  to make sure they hold.


Sew the opening in the casing closed.


Repeat for the 14" elastic.  


Next, take the ribbon and cut it to 14" in length


Sew the ribbon to the top of the bag placing the ends on opposite sides.  Stitch once along the stitch line from the hem and then again close to the top for added durability.  Turn right side out and your done!


Here are the before and after pictures of underneath my cabinets in the kitchen.  I love when I can sew to solve a real problem in our lives.  Well, that makes it sound like we couldn't lead fulfilling lives with the bags under the counter like that.  It was just a nuisance, especially since Munchkin decided she likes to pull them out and toss them all over the house.


Wednesday, September 28, 2011

A Frame Tent

Whilst chatting with a close friend one night she mentioned she was making this A-Frame Tent from Cakies as a gift for a little boy she knew.  I thought it was a really cute idea and something pretty easy to make.  I'm not sure if it was later that night or a few days later, but I mentioned to her that I was having trouble coming up with a birthday gift for her daughter.  She said her daughter was pretty excited about the tent she was making and would probably love to have one of her own.  I thought it was a good idea, and who am I to disappoint a 3 year old for her birthday?

It took me longer than expected to collect the wood pieces.  I sent my husband to Lowes one day to get other things we needed and added these to the list last minute.  He was not able to find them at Lowes.  This doesn't mean Lowes doesn't carry them.  So, if you plan on making this tent don't avoid Lowes.  It just means my husband may have had his eyes shut when looking.  A week or so later I went to home depot and found them with the help of an employee.  (I'm sure there weren't any employees available to help my husband when he was searching.)

I immediately had in my head what fabric I wanted to use.  I knew I had this old vintage sheet with a great color palate and pattern.  When I finally went though my stash and found it I was disappointed to find out it was a pair of pillowcases and not a complete sheet set or even 1 sheet.  Not "feeling" any of my other fabric, I decided to forge ahead.  I found another set of sheets that I thought coordinated well and went to work.  I ended up making a border with the beige sheet around 2 opened pillowcases.  I don't have a picture of the bag, but after making the tent and the bag I literally had a couple 1.5" by 3" pieces of the blue fabric left.


Since the wood was "hard" to find the first time I did buy enough to make one for Peanut as well.  After having this set up in my living room for about 10 minutes I've decided its going to be a gift for both girls as neither one of them wanted to get out.  I'm not sure when I'll get that done in my schedule, but it's on the list....along with about 30 other projects.

Thursday, September 22, 2011

Bambo Knife Review

I am a member of Haute Look.  I get their emails daily and sometimes things look interesting. Most things are too expensive, but I love to window shop and it's fun to look at the styles they sell.  A few weeks ago they offered a sale for Core Bamboo.  I looked over all the products and a few things intrigued me.  The idea of a bamboo knife.  I don't remember which ones they had up for sale, but I know I ended up with the chef's slicer.

I was pretty excited to get it in the mail.  Papa B is a "knife guy" and so he was also intrigued.  At dinner I pulled out the knife and sliced an apple.  I was pretty disappointed right away.  It took mostly force and little actual "cutting" to slice the apple in half.  I felt like it wasn't sharp enough.   So, we all partook in the apple and the knife was washed and put away for later.


A few days later when getting ready to make mashed potatoes Papa B asked if I wanted to try it out again.  I didn't really want to, but I did.  I found it hard to do the first cut of the potato in half, but as long as I sliced keeping the tip of the blade on the board it worked really well for the rest of the cutting.  I was presently surprised.

I'm excited to keep this new knife in the drawer and getting to use it.  I do wonder how to sharpen it, if possible.  Maybe this knife will become one of my new kitchen utensil must haves.  Only time will tell!


Tuesday, September 20, 2011

Flower Cut Out Shirt: A Tutorial

Sorry it took me so long to get this up.   I should probably just stop giving time frames so that I don't fail to meet them.  Speaking of which, I didn't make my 5 project completed by Monday goal.  I only managed to get 3 done.  Fortunately, 2 of those were really important. So, at least there is that.  Onto the tutorial!

Supplies Needed:
1 shirt
scraps of fabric
scraps of paper
Thread to match the shirt color
pencil
Fabric marker that will wash out
Pinking sheers

Step 1:

Using your scrap paper, draw the shapes you want the cut outs to be and lay them on your shirt.  For mine I decided to make 3 flowers.  The flower shapes are actually cardstock flowers from scrapbooking leftovers.  Keep in mind the cutouts will be slightly smaller than the pieces you use.

Step 2:

Using your washable fabric marker, trace the outline of all the shapes.


This is what it should look like when you have traced them all.

Step 3:

Cut out pieces of fabric larger than the shapes.  I laid mine out like this so I knew where the different pieces went as I pinned them to the shirt.

Step 4:


Pin the fabric to the inside of the shirt making sure to stay outside your trace lines with the pins.


This is what it should look like on the outside of the shirt.  Double check to make sure you don't have any pins going over your lines as you'll be sewing on top of the lines.

Step 5:


Sew along all of the lines you traced.  


This is what it should look like on the inside.

Step 6:


Use the pinking shears along all the edges of the fabrics to prevent fraying later on.


Here is a closeup of one of the flowers.

Step 7:


On the front of your shirt, very carefully cut out the shirt leaving the fabric behind.  Trace around the shapes leaving about 1/4 inch border from where your stitches are.

Step 8:


Snip around the edges making a frilled edge making sure not to cut through the stitches or your behind fabric.  The frilled edge will make it fray once you wash it.

Step 9:


Throw the shirt in the washer and then dryer.  That will get rid of all the marker and also make the edges fray. 

Step 10:


Put it on your toddler along with Faerie wings and your done!