Showing posts with label Kids Clothes. Show all posts

Tuesday, September 20, 2011

Flower Cut Out Shirt: A Tutorial

Sorry it took me so long to get this up.   I should probably just stop giving time frames so that I don't fail to meet them.  Speaking of which, I didn't make my 5 project completed by Monday goal.  I only managed to get 3 done.  Fortunately, 2 of those were really important. So, at least there is that.  Onto the tutorial!

Supplies Needed:
1 shirt
scraps of fabric
scraps of paper
Thread to match the shirt color
pencil
Fabric marker that will wash out
Pinking sheers

Step 1:

Using your scrap paper, draw the shapes you want the cut outs to be and lay them on your shirt.  For mine I decided to make 3 flowers.  The flower shapes are actually cardstock flowers from scrapbooking leftovers.  Keep in mind the cutouts will be slightly smaller than the pieces you use.

Step 2:

Using your washable fabric marker, trace the outline of all the shapes.


This is what it should look like when you have traced them all.

Step 3:

Cut out pieces of fabric larger than the shapes.  I laid mine out like this so I knew where the different pieces went as I pinned them to the shirt.

Step 4:


Pin the fabric to the inside of the shirt making sure to stay outside your trace lines with the pins.


This is what it should look like on the outside of the shirt.  Double check to make sure you don't have any pins going over your lines as you'll be sewing on top of the lines.

Step 5:


Sew along all of the lines you traced.  


This is what it should look like on the inside.

Step 6:


Use the pinking shears along all the edges of the fabrics to prevent fraying later on.


Here is a closeup of one of the flowers.

Step 7:


On the front of your shirt, very carefully cut out the shirt leaving the fabric behind.  Trace around the shapes leaving about 1/4 inch border from where your stitches are.

Step 8:


Snip around the edges making a frilled edge making sure not to cut through the stitches or your behind fabric.  The frilled edge will make it fray once you wash it.

Step 9:


Throw the shirt in the washer and then dryer.  That will get rid of all the marker and also make the edges fray. 

Step 10:


Put it on your toddler along with Faerie wings and your done!


Thursday, May 12, 2011

Shirred Dress


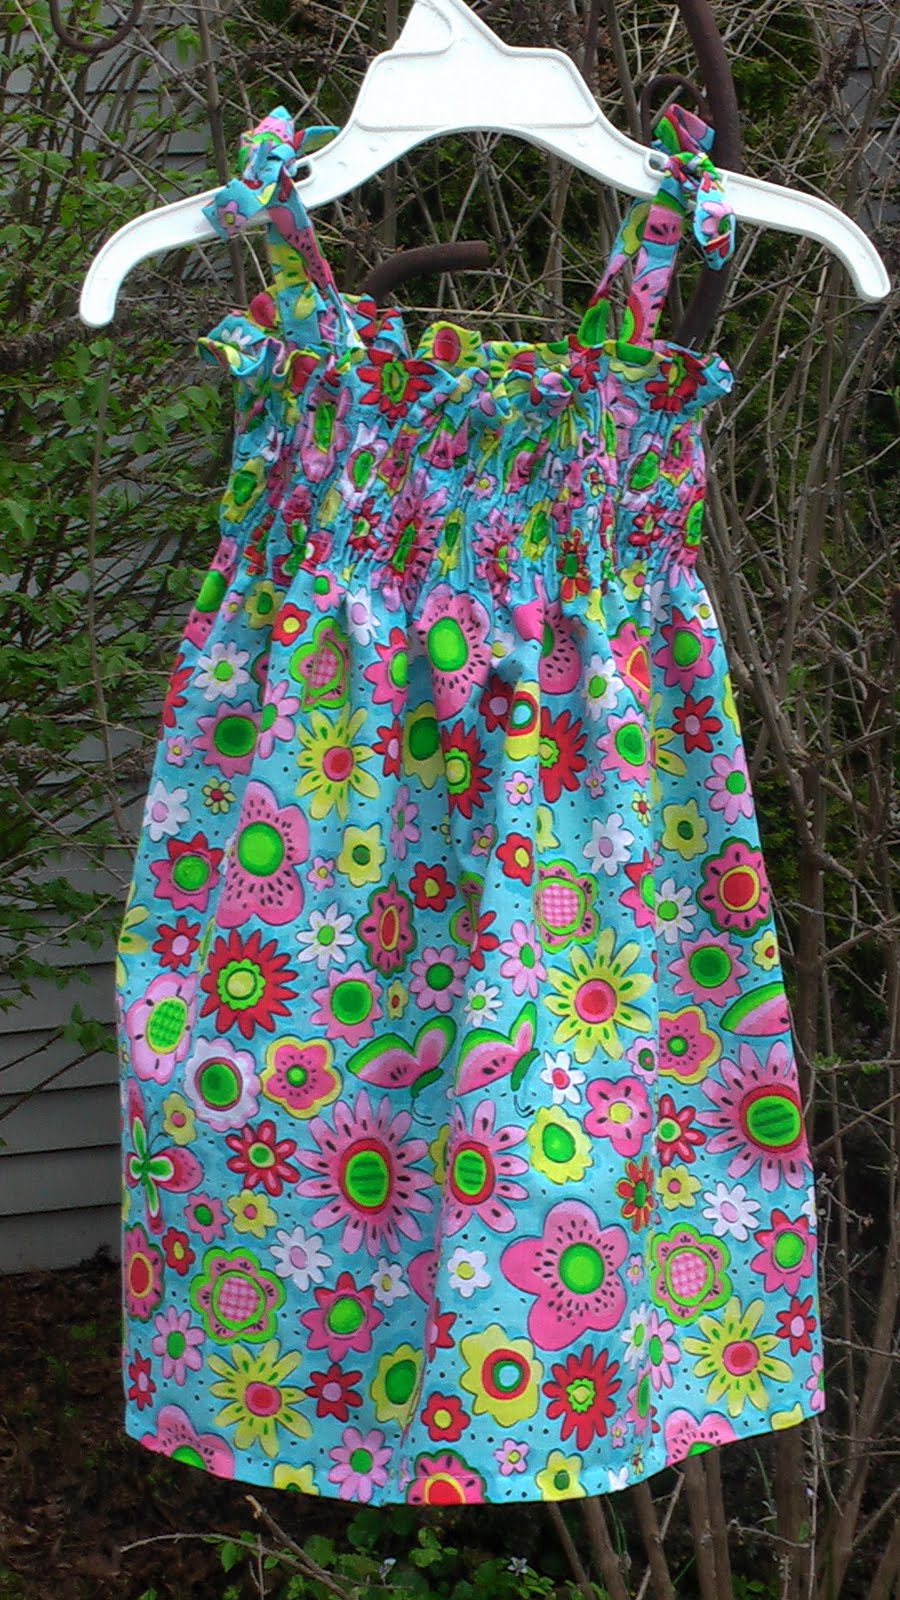
This dress is 1) the bane of my existence and 2) my project for KCWC day 3 (and now 4).   I had a heck of a time with the shirring.  It was my first time and perhaps my last (though I don't think so).  My biggest tip after this endeavor is to perfect the tension before you start sewing on the actual dress.  The proper tension setting is of utmost importance.

Peanut is wearing this dress right now and it fits really well.  A tutorial will be posted later.  Just let me catch my breath and start the next project.

-J

Tuesday, May 10, 2011

Pajamas into Coat: A Tutorial


I had these pajamas in a bag of clothes I got from Freecycle.  If you aren't familiar with freecycle, its a group you can join where people give things away in order to keep them out of landfills.  Not everything is "trash".  Most often its stuff they just don't want anymore.  So, I got a bag of clothes in 4T for Peanut and these were in it.  Spring is here (finally!) and so I don't really have a use for fleece pajamas.  What I do have a need for is a spring coat for Peanut to play outside in when its cooler and/or windy.  Enter in the Pajamas into a Coat craft!

What you'll need:
1 pair of fleece footie pajamas
3-4 buttons
scissors
coordinating or matching thread
sewing machine

Directions:


First thing I did was try them on Peanut and mark where her waist was with a pencil.


Then I ripped the seams on the zipper with my stitch ripper down to well below my mark.


I actually ended up using a new t-shit of Peanuts to gage the length.  I marked the bottom of the shirt and added an inch.  The shirt was pretty long, so the coat ended up being the right length.


I then rolled up a 1/4 inch along the bottom then another 1 inch.  I wanted the bottom to have a wider hem to look more like the bottom of a regular coat.  I did a 7/8 inch hem from the bottom. Its not so important that the inside is straight, but that the outside hem is straight since that's what people will see.  So, focus on sewing straight along the bottom rather than making sure you are straight along the inside fold.


Next I cut 4 1"x5" strips out of the scrap material from the bottom half of the pajamas.  I then folded them in half right side out and pinned them.  I put them in my machine and did a straight stitch down the middle of each one.


I then trimmed the raw edge really close to the seam.


Then I laid out my 4 strips along with my 4 buttons to decide placement.  You could also do 3 buttons if you wanted.  It just depends on how you want the spacing to be.  It's also hard to tell, but my buttons are different.  


I used a pen to mark where I wanted each button to be.


Then I hand sewed the buttons on with my blue dots right in the middle of the button.


Then I took my strips and tucked them in the buttons and pinned them onto the other side where I thought they gave enough tension to stay on.  I sewed the strips on running the stitch across each strap 5 times (down, up, down, up, down) 7/8 inch from the center edge of the coat.  I then went another 1/4" out and repeated for strength.  I trimmed the strips 1/4" out from that.


Here is a close up of the 2 seams and how I trimmed it.  Also note the factory made wavy hem up towards the top.  Good to know even the factories aren't perfect stitchers!


The finished product!  A simple coat for Peanut to wear outside.  I went from something I probably wasn't going to use to something Peanut needed.  Total cost to me $0.


Peanut posing in her new coat, which she says she loves.  Her hands are up because she's making a funny face while posing for the camera.


Monday, May 9, 2011

KCWC Day 1: Pants into shorts

I know turning pants into shorts seems like a really easy task, but I think it's something I take for granted.  Not everyone knows how to do it.  So, since today was mothers day and full of gardening activities I decided to start with something easy.   Peanut has an old pair of pants that still fit in the waist, but they are too short and the bottoms are tattered.  Solution? Shorts!  One pretty easy hem and she has something she can wear all summer!  So, here's how to do it if you are new to sewing.


The first thing I did was take a pair of shorts and used them as a guide as to where I wanted to hem my pants.


Using my shorts as a guide I drew lines on the pants where I wanted the hem to be and then an inch below to fold under.


Cut the pants on the bottom line


Fold the ends in 1/2" twice so the unfinished edges are on the inside.  The top line you drew should be right on the bottom edge now.  Pin around and repeat for the 2nd leg.


Sew a 1/4 inch seam around the bottom of each pant leg.  Trim the threads.


Voila!  Now you have a pair of shorts!